Gelcoat Repair 101: Boat Surface Restoration Guide
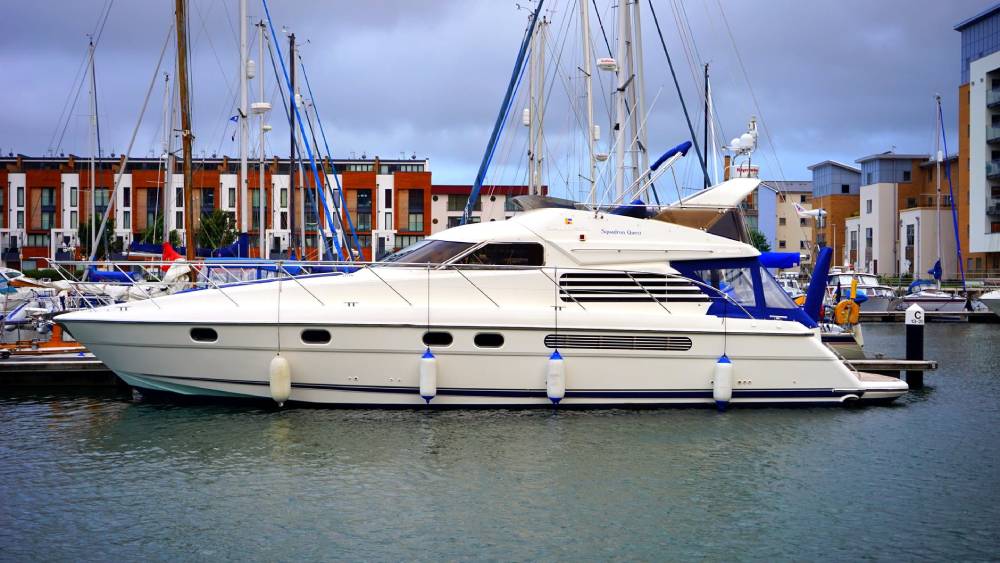
As every boat owner knows, even sturdy fiberglass boats are prone to damage from a poor landing, dropped fishing equipment, or a misplaced drill hole. Luckily, scratches and holes in the gelcoat that gives your boat its glossy appearance can be repaired with a little patience and the correct technique.
What Is Gelcoat?
Gelcoat is an epoxy or polyester resin-based thermoset polymer that is usually applied to the boat exterior during the fiberglass molding process to give a smooth, shiny appearance.
Gelcoat provides more than just a glossy finish on the boat hull; it also acts as a waterproof barrier to protect the fiberglass underneath from hydrolysis and UV damage. If fiberglass is exposed to water for a prolonged period, it can weaken the structural integrity of the boat.
Despite the durability of gelcoat, the tough film can deteriorate over time. High-performance speed craft, such as bass boats, flex as they move through the water, causing the rigid boat gel coat to crack. Spider and hairline cracks can also occur from environmental stress or impact. The keel is especially prone to damage from accidental impact from underwater hazards.
For more durable protection in the water, restore your boat surface with an overcoat of Durabak after repairing cracks in your gelcoat. Durabak is a more heavy-duty and flexible alternative to gel coat that won’t crack or peel over time or get scratched from impact.
How to Restore Gelcoat on a Boat
There are various techniques for gelcoat repair, depending on the severity of the damage. If your gelcoat has oxidized, giving it a dull, chalky appearance, you can simply use a gelcoat oxidation remover to sand and polish the surface to a low sheen without the need for full repairs.
For minor cracks, scratches, and gouges, you can purchase a DIY gelcoat repair kit to fix the bottom of your boat quickly and easily. Here is our simple step-by-step guide to gel coat restoration.
Step 1: Identify the Boat Finish
Gelcoat cannot bond to a painted surface, so it is vital to identify the boat finish before beginning repairs. Boats that already have gelcoat, fiberglass, or polyester resin surface do not need any additional steps before repairing. Painted boats will need to have the paint removed before applying the gelcoat.
Step 2: Surface Preparation
The final layer of gelcoat has a waxy component, so you need to remove the wax from an area at least twice the diameter around the damage with a thinner.
For deeper gouge and scratch repair, you need to use a power drill with a conical grinding bit to create a V-shaped notch to improve the bonding surface. Use 80-grit sandpaper to remove loose chips and create a shallow bevel. Clean up the entire area with acetone.
Step 3: Tape Off the Area
Use 2-inch 3M Scotchbrite Painter’s Tape to create a 1/16th-inch perimeter around the damaged area. Tape off any sensitive items or adjacent areas that may be damaged from gelcoat spatter or accidental sanding. You can also apply masking paper to prevent overspray if you are using a spray gelcoat restorer. Sand the entire taped-off area with 360-grit paper and clean up with acetone.
Step 4: Apply Filler
Deep scratches and gouges need to be filled with resin and an epoxy-based filler before continuing. Although more expensive than polyester filler, epoxy adheres better and lasts longer. However, there are additional steps you need to take before applying the final coat of gelcoat and/or boat paint. Once filled and dried, sand the area and clean with acetone.
Step 5: Color Match the Gelcoat
You need to tint the batch of gel coat to match the color of your boat exterior before adding the catalyst. For newer model boats, ask your dealer if they can supply gelcoat to match your boat. Alternatively, look for a gel coat repair kit that comes with pigments that you can add to the resin. Use bright natural daylight to find the best matching shade.
If you plan to overcoat your boat surface with Durabak for longer-lasting protection, tinting the gelcoat is not necessary. Durabak comes in a wide range of colors so you can choose the ideal shade for your boat.
Step 6: Mix in the Catalyst
After you have matched the color of the gelcoat to your boat, add the catalyst. You must mix the base and catalyst in the correct ratio. Too much or too little catalyst prevents the gelcoat from curing adequately. A two-part ratio is considered the proper combination, but always check the manufacturer’s instructions before mixing.
Consider the viscosity and the method of application. Spray application is considered the best way to achieve a consistent and accurate coat, especially for a vertical surface prone to dripping. To thin your base for spraying, use a styrene thinner.
Step 7: Apply the Gelcoat
If using a spray applicator, fill the container with the gelcoat and attach the hose to an air compressor. Apply a coat of gel coat using short strokes gradually moving outward from the damaged area. Allow around 20 minutes between the application of each coat to allow the solvent to flash-off. You may need to apply 5-6 coats to achieve a film of approximately 15- 20 mil.
For brushed applications, use a foam brush or roller to prevent drips and brushstrokes. Apply the gel coat in short, vertical strokes. Build a film slightly higher than the area surrounding the damage to allow for sanding. After the final coat has dried, coat the area with a PVA curing agent and allow it to cure fully.
Step 8: Sand, Buff, and Polish
Remove the PVA and sand with 320-grit wet/dry sandpaper using a soft block. Switch to 600-grit paper and continue to wet sand the immediate repair site until it is flush with the surrounding area. Finish with a light sanding using 1,000-grit paper and buff the area with rubbing compound. Buffing gelcoat must be done delicately so as not to create heat that can stain the surface. Finally, apply a coat of wax-based gel coat polish.
Gelcoat FAQs
When to repair gelcoat cracks?
Cracks and scratches in gelcoat should be repaired immediately to prevent water from damaging the fiberglass structure of your boat and rusting metal components. Replacing your gelcoat with Durabak is the ideal preventative solution to avoid scratches and cracks to prolong the life of your marine craft.
What is the best gelcoat repair kit?
Different kits are better suited to different types of boat repairs. However, one brand boat manufacturers recommend is Evercoat, which comes in two sizes and includes all components you need, such as base, pigments, catalyst, and cleaning solvents.
How much does it cost to repair gelcoat?
While repairing gelcoat yourself can be a good way to save money, results can vary depending on the brand, extent of the damage, and your skill at boat repair. For large surface repairs, it is recommended that you take your boat to a professional, which can cost between $70 and $110 per hour.
Durabak: The Better Alternative to Gelcoat
Unfortunately, even with an excellent repair job, your gelcoat will not last forever. Eventually, your gelcoat develops spider cracks and peels as the film becomes dry and brittle. Full gel coat restoration is also expensive and time-consuming to fix.
Durabak can be used as a superior alternative to gelcoat. Durabak is more affordable, stronger, easier to apply to your fiberglass boat, and the U.S. Navy trusts it for heavy-duty repairs. Durabak is used on the decks of 11 nuclear aircraft carriers and many warships and naval vessels. It is also available in more colors than gelcoat, which gives you flexibility for repairing or replacing your boat’s surface.
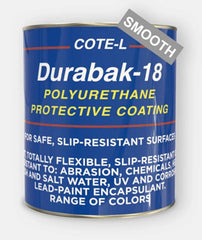
Durabak is a polyurethane protective coating designed to withstand the harsh marine elements. Unlike gelcoat, which cracks and peels over time, Durabak protective coating is flexible once applied and resists scratches and impact damage for years. The special formula is designed to be UV-resistant and waterproof, and the color does not fade or dry out, so your boat surface remains in pristine condition.
Durabak is available in Smooth and Textured versions that can be used together for a very rough and grippy finish, a totally smooth finish or a barefoot friendly finish with grip by coating smooth over textured Durabak which is gentle on your feet and easy to clean.
How to Apply Durabak
- Before applying Durabak, you need to clean the entire boat surface with a mild household dish detergent. Once dry, roughen the surface with 40-grit sandpaper and wipe clean with Solvide or xylene solvents. Tape off any areas that you do not want to paint with Durabak.
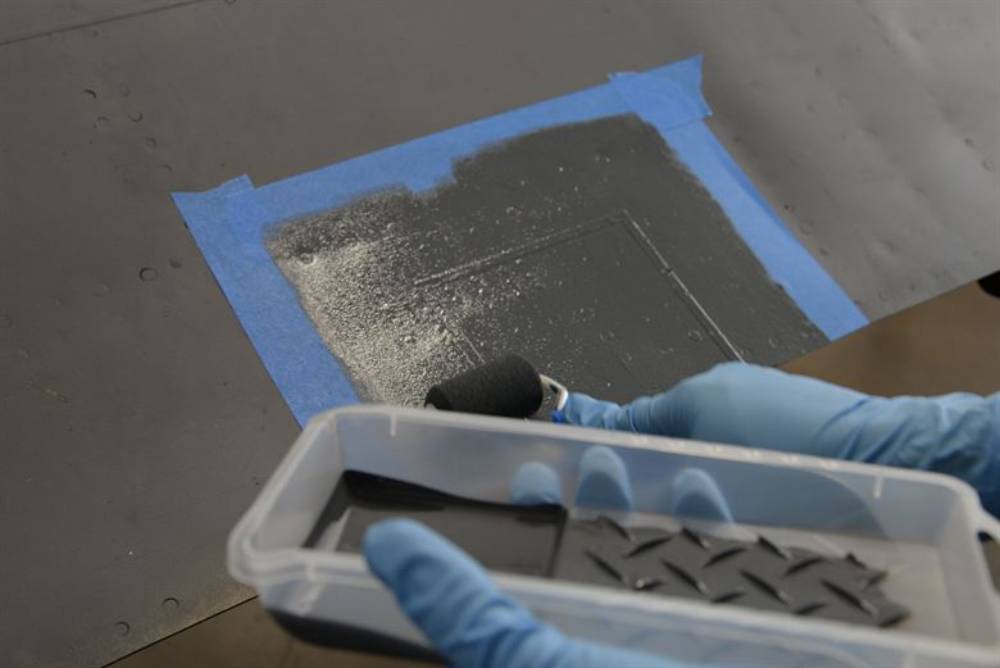
- Only open a fresh can of smooth Durabak just before you are ready to paint the boat surface. Stir the can well, then use a foam paintbrush to edge in any tricky corners. Keep the lid on the can, only removing it to stir and pour extra Durabak into the roller tray; Durabak begins to cure as soon as it comes into contact with the air.
- Pour a small amount into a roller tray and apply the first coat to the boat surface using a short nap roller. Two coats are the recommended level of coverage. You can apply the second coat after the first is dry to the touch, which is approximately 1-2 hours.
- After the second coat has been applied, do not touch the surface for at least 24 hours. Remove any painter’s tape as soon as you have finished the second coat. It takes between 5-6 days for the overcoat of Durabak to fully cure.
The Final Word:
Whether you are restoring oxidized gelcoat or fixing minor repairs, a DIY gelcoat repair kit is an affordable way to restore the appearance of your boat hull or even better, take a serious look at Durabak.
https://images.pexels.com/photos/144634/pexels-photo-144634.jpeg
https://media.defense.gov/2015/Jul/22/2001285700/780/780/0/150720-F-VB168-431.JPG